
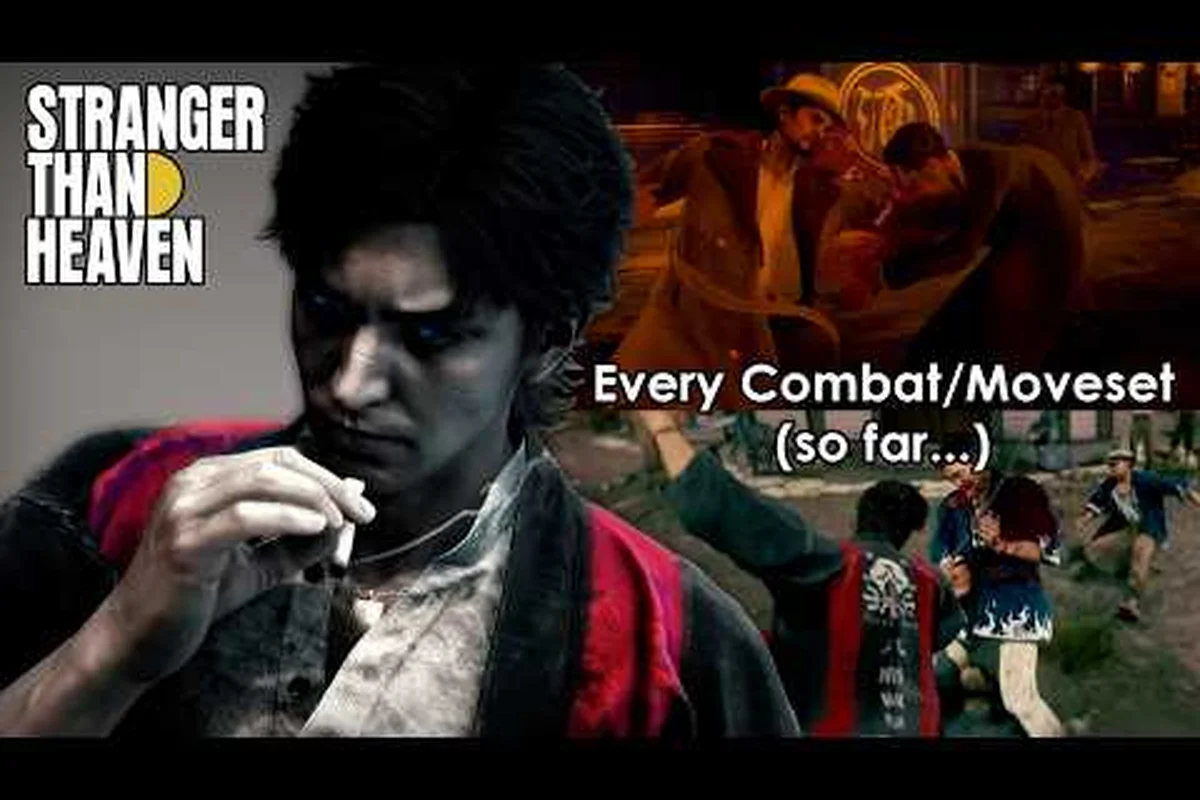
Picking a fighting style in STRANGER THAN HEAVEN is the single decision that reshapes your entire run, because every encounter rewards a different mix of reach, speed, and aggression. This STRANGER THAN HEAVEN fighting style guide breaks down boxing, street brawling, and weapon loadouts so you know exactly when to throw hands and when to draw steel. If you have ever felt punished by an enemy with longer arms than you, the answer usually lives in your style choice, not your reflexes.
The combat system is built around independent left-and-right limb control, and according to the official STRANGER THAN HEAVEN site, players can blend offensive and defensive actions on each side of the body in real time. That freedom is what makes the difference between a style that feels expressive and one that feels restrictive. The rest of this guide maps every major style to the situations where it dominates, and flags the moments where you should switch.
Boxing vs Street Brawling vs Weapons
Your fighting style in STRANGER THAN HEAVEN is not a class you lock at character creation; it is a loadout you tune before every fight, and the right call changes depending on enemy type, arena layout, and how much health you are willing to gamble. Boxing is fast, tight, and stamina-friendly, but it punishes you for staying in one range too long. Street brawling is the middle ground that lets you mix clinches, shoves, and dirty hits when clean boxing fails. Weapons swing the math entirely by trading stamina for reach and burst damage, which is why experienced players often carry two weapon types and swap mid-fight.
The following comparison table summarizes how each style behaves at a glance, so you can read this section as a quick reference before diving into the deeper mechanics. Pay close attention to the Counter Window column, since timing a perfect parry against a Katana's wide arc at mid-far range is far tighter than exploiting Boxing's generous jab window at close range, and misunderstanding that difference is the single most common reason new players lose stamina trades they thought they had won.
| Fighting Style | Best Range | Stamina Cost | Damage Type | Counter Window | Ideal Enemy Matchup |
|---|---|---|---|---|---|
| Boxing | Close | Low | Quick taps, low per-hit | Very generous on jabs | Grunts, knife users, 1v1 duels |
| Street Brawling | Close-Mid | Medium | Clinch, shove, dirty hits | Narrow but punishing | Groups, bouncers, mid-tier bosses |
| Knife | Close-Mid | Low | Bleed stacks | Requires precise timing | Fast duelists, unarmored foes |
| Hammer | Mid | High | Blunt, poise break | Limited window | Armored heavies, shield users |
| Katana | Mid-Far | Medium | Wide arc, high burst | Tight, animation-locked | Groups, wide arenas, finisher chains |
Why Style Choice Matters More Than Stats
Because limb control is split, you are not choosing between attack and defense at a macro level; you are choosing which hand does what, frame by frame. A boxer can throw a left jab to keep a foe honest while holding a right-side block, which is a stance the official site describes as a core design pillar. Street brawling layers in shoves and clinch breaks that interrupt an enemy's momentum even when you are outmatched in raw damage. Weapons, by contrast, often demand that you commit both hands to a swing, which is where the STRANGER THAN HEAVEN Steam page highlights how weapon types change range, speed, and damage output.
Quick Style Pick Cheat Sheet
-
Pick Boxing when the enemy is one-on-one and relies on fast jabs of their own.
-
Pick Street Brawling when the room is crowded and clean combos are getting interrupted.
-
Pick Knife when you can stack bleed and the fight lasts longer than ten seconds.
-
Pick Hammer when shields and armor are blocking your clean hits.
-
Pick Katana when the arena is wide and you need arc-based crowd control.
Defensive Options: Block, Counter, and Dodge Timing
Defense in STRANGER THAN HEAVEN is split across three actions that all consume stamina but solve different problems. Blocking is the safest default because it costs a predictable amount of stamina and never leaves you animation-locked, but it does not stop every attack type. Dodging burns more stamina but resets your position, which is the right call when an enemy winds up a heavy you cannot eat. Countering is the highest-reward option because a successful parry staggers the foe and opens a free punish window, but the input window is brutal on higher combat difficulty settings.
The table below breaks down the stamina and timing cost of each defensive action so you can stop guessing and start budgeting stamina like a resource. Treat the values as your stamina economy ledger: a single Block tick is roughly one-third of a Dodge, a Counter sits in the middle, and a whiffed Clinch Break refunds nothing while still eating your recovery frames. On combat difficulty settings above Hard, those ratios shift because enemy combo openers chain faster than your block stamina can regenerate, so the punish window column matters as much as the stamina column — a successful Counter is the only option that converts a defensive read into guaranteed damage rather than just buying you space to retreat.
| Defensive Action | Stamina Cost | I-Frames / Block Frames | Punish on Success | Risk on Failure |
|---|---|---|---|---|
| Block (Left or Right) | Low | Sustained block, no i-frames | Small pushback | Stamina break → stagger |
| Counter (timed parry) | Medium | ~6 active frames | Full stagger + free combo | Heavy stamina loss, big punish |
| Dodge (sidestep or backstep) | High | ~10 i-frames | Reposition to flank | Stamina drain, punishable on whiff |
| Clinch Break (street brawling) | Medium | 4 active frames | Disarm or shove | Short window, no i-frames on miss |
How to Block Correctly
Blocking is the action most new players misuse, because they hold both sides and drain stamina on every incoming hit. A more efficient pattern, and one the STRANGER THAN HEAVEN combat guide covers in depth, is to block with the side that is actually about to be hit while the other hand keeps up pressure. If you watch the enemy's shoulders, you can predict which side will strike first and pre-block only that arm. This is also the cleanest answer to the stranger than heaven how to block question, because directional blocking is the only block worth practicing.
How to Counter Without Eating the Hit
Counters feel broken when they land and suicidal when they miss, so the trick is to counter only the attacks that have a slow wind-up. Heavy swings, overhead hammer blows, and telegraphed shoves are the safest counter targets, because their wind-up animation gives you a longer read window. Fast jabs and unblockable grabs should never be countered, and on harder stranger than heaven combat difficulty settings the counter window shrinks, so the rule becomes "only counter what you have seen at least twice before."
How to Dodge and When to Skip It
Dodging is the most expensive defensive tool, and it is the one action new players overuse because the i-frames feel invincible. The truth is that dodging through a multi-hit combo only works if the final hit finishes before your i-frames end, and the stamina cost of chaining dodges will leave you guard-broken. The healthier pattern, and the one most stranger than heaven combat tips and tricks threads repeat, is to dodge once, block the rest, and counter the follow-up. The deeper limb-control breakdown in the independent limb combat breakdown shows how sidestepping can also bait a whiff punish if you read the enemy's first step.
Style Loadouts by Combat Difficulty Tier
STRANGER THAN HEAVEN scales enemy aggression, enemy count, and stamina drain across its difficulty tiers, which means the same loadout that feels godly on Normal can feel suicidal on Hard. The table below maps each major style to a difficulty tier where it performs best, based on community-reported behavior and the design notes on the STRANGER THAN HEAVEN Wikipedia page.
| Difficulty Tier | Strongest Style | Second-Best Style | Style to Avoid |
|---|---|---|---|
| Story | Boxing | Katana | Hammer (overkill, slow) |
| Normal | Street Brawling | Knife | Pure unarmed in groups |
| Hard | Katana + Knife swap | Street Brawling | Hammer (stamina tax too high) |
| Hardest | Hybrid (unarmed + weapon) | Katana | Boxing alone (punished on multi-enemy) |
Early Game: Boxing and One Weapon
In the prologue and Act 1, enemies are mostly 1v1 encounters with telegraphed attacks, which makes boxing the most forgiving starter style. Pair it with a single knife or short blade so you have a panic button when a second enemy joins the fight. The starter loadout also keeps your stamina bar predictable, which matters when you are still learning the stranger than heaven how to dodge windows on heavier enemies.
Mid Game: Street Brawling and the Katana Pivot
Once you hit Chapter 4 and beyond, fights regularly become 2v1 or 3v1, and clean boxing gets interrupted by shoves. This is where street brawling earns its keep, because clinch breaks let you peel an enemy off you while the other hand keeps up jab pressure. Once you unlock a katana, the mid-game meta shifts toward arc-based crowd control, especially in wide arenas where you can swing through multiple targets.
Late Game: Hybrid Loadouts
On the harder difficulty tiers, single-style runs plateau because enemies learn to bait your main pattern. The most consistent late-game setup reported by community testers is a hybrid loadout: unarmed hands for blocking and countering, plus a one-handed weapon for burst punishes. If you want a deeper look at how to chain these swaps, the finishing moves list breaks down which attacks trigger when both hands are committed.
Practical Style Switches Mid-Fight
Switching styles is not just a menu action; it is a mid-fight tempo tool, and the best players chain two or three weapons in a single encounter to control range and stamina. A common pattern is to open with a katana swing to clip multiple enemies, drop the blade, and switch to bare fists for the cleanup because fists cost almost no stamina. Another pattern is to lead with a hammer to break a shield user's guard, then swap to a knife for the bleed stack while the foe is staggered.
The key, according to community playtest reports, is to plan the swap before the fight starts, not in the middle of it. Most players miss the swap window because they are reacting instead of scripting the sequence, so try opening the pause menu during a safe lull and pre-bucket the weapons you plan to cycle in the order you actually intend to pull them. Once you have done that, you can treat the encounter like a two- or three-beat rotation rather than a panic decision, which is how top players reliably land a katana opener into bare-fist cleanup without eating a counter-hit.
Common Style Switch Mistakes
-
Swapping during a heavy wind-up, which leaves you animation-locked and open.
-
Dropping both weapons at once, which costs double the recovery frames.
-
Switching into a slow weapon when stamina is already low, which guarantees a guard break.
-
Forgetting that a counter is only possible when at least one hand is free.
Matching Your Style to Enemy Archetypes
Every enemy archetype in STRANGER THAN HEAVEN punishes a different style, and the difference between a clean run and a repeated death usually comes down to picking the right tool. Grunts in jackets fall to clean boxing, shielded heavies demand a hammer, and the fast knife-wielding duelists are the reason the stranger than heaven how to counter question comes up so often in community guides. Bosses, by contrast, are designed around pattern reads, so the story walkthrough treats style choice as a sub-decision under the larger pattern-read umbrella.
| Enemy Archetype | Weakest Against | Best Defensive Action | Style Note |
|---|---|---|---|
| Jacket Grunt | Clean jabs, combos | Counter their first swing | Boxing dominates |
| Knife Duelist | Bleed stacks, sidestep punish | Dodge, do not block | Knife + counter |
| Shield Heavy | Poise-break weapons | Block the overhead | Hammer first, knife cleanup |
| Group (3+) | Arc swings, shove resets | Clinch break, reposition | Street brawling, then katana |
| Boss | Pattern-read punishes | Block + counter on telegraph | Hybrid, save stamina for phase 2 |
The Counter Question for Tough Fights
For the stranger than heaven how to counter problem, the most reliable rule is to identify the enemy's longest attack animation, counter only that one, and block the rest. Most late-game enemies chain a fast jab into a heavy swing, which means a counter on the heavy is free, while countering the jab will drain your stamina. Community testers report that overusing counters on Hardest difficulty is the single fastest way to lose a run, so the answer is almost always "block the fast, counter the slow."
Style Mastery Practice Drills
If you want a concrete practice loop, start in the early-game arena and force yourself to win three consecutive fights using only one style at a time. Boxing-only runs teach you the stranger than heaven how to block timing, because every missed block costs you health you cannot recover. Street-brawling-only runs teach you the stranger than heaven how to counter timing, because the clinch break reward is huge but the window is small. Weapon-only runs teach you the stranger than heaven how to dodge timing, because the slower swings force you to reposition instead of relying on block.
After each loop, swap styles and repeat, and you will start to see which patterns you instinctively lean on. Most players discover they over-rely on dodge because the i-frames feel safe, and the practice loop is what trains them out of it.
When to Break Your Style for Survival
There are three moments in any run where breaking your style is the right call, regardless of how invested you are in a loadout. The first is the first time you meet a new enemy archetype, because reading the new pattern matters more than optimizing damage. The second is when your stamina bar is below 30%, because a single failed defensive action will stagger you, and a stagger at low stamina usually means death. The third is any time you are fighting in a narrow corridor, because arc weapons lose most of their value and the speed of bare fists wins.
Build Recommendations by Playstyle
-
Aggressive players should run a katana + knife swap, with street brawling as the panic fallback.
-
Defensive players should run boxing + hammer, and rely on counters only on telegraphed heavies.
-
Hybrid players should keep one hand empty at all times, and treat the second hand as a slot for a situational weapon.
-
New players should start with boxing + one short blade, and add styles only after they can clear an early-game encounter without losing health.
Frequently Asked Questions
What is the best starter fighting style in STRANGER THAN HEAVEN?
Boxing is the best starter style because it costs the least stamina, has the most generous counter window, and lets you keep one hand free for a panic weapon. Most players stick with boxing through the first two chapters before they feel the pressure to switch.
How do I counter without losing stamina?
Only counter attacks with a visible wind-up, and block every fast jab in between. The counter window on higher combat difficulty settings is around six frames, so a single mistimed counter is a big stamina loss and almost guarantees a follow-up hit.
Should I dodge or block against groups?
Block the first hit to keep your position, then dodge sideways to break line of sight and reset the engagement. Chaining dodges is a stamina trap, so the rule is one dodge, then block, then counter the slowest enemy in the group.
When does street brawling outperform boxing?
Street brawling outperforms boxing whenever the fight is 2v1 or you are in a tight corridor where clean jabs get interrupted. The clinch break and shove tools are the main reason, because they peel an enemy off you without spending a full dodge.
Can I win a run using only one style?
Yes, but only on lower difficulty tiers, and only if your style is well-suited to the enemy mix. On Hard and above, single-style runs plateau around mid-game because enemies start to bait your main pattern, which is why hybrid loadouts become the most consistent option.