
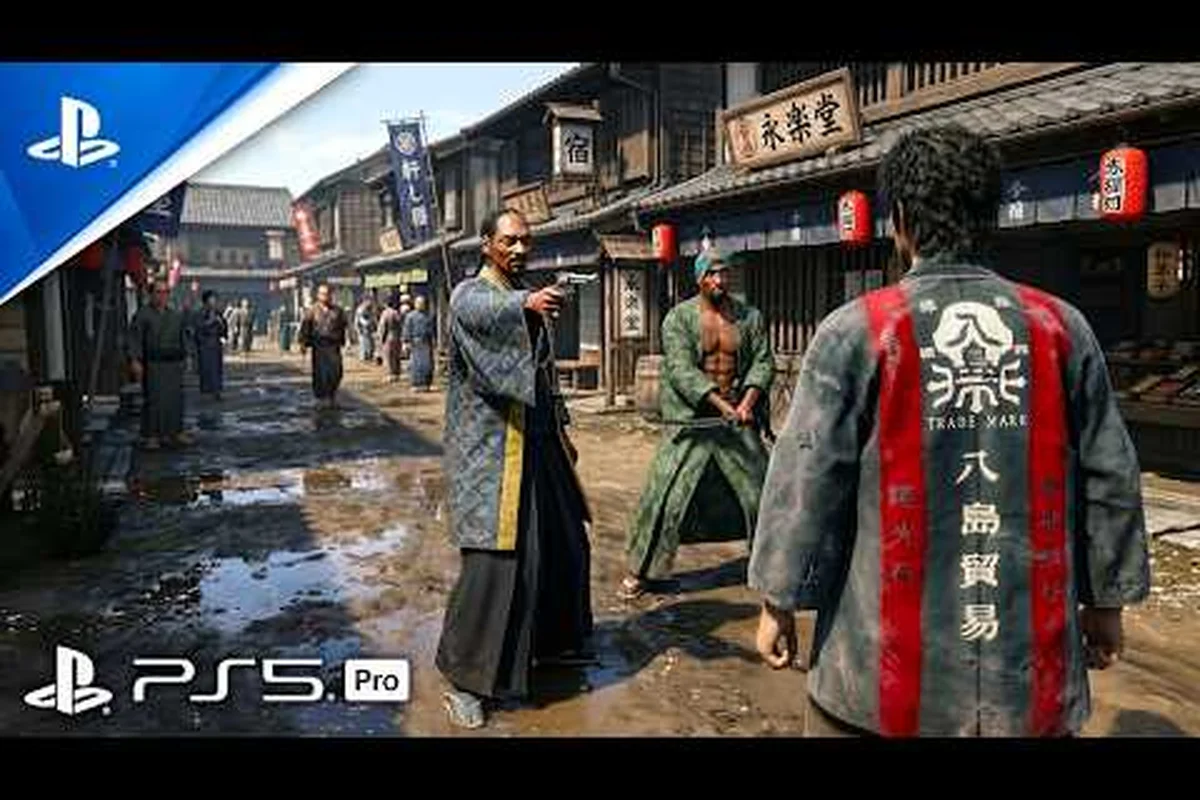
Exploring the five cities of STRANGER THAN HEAVEN feels overwhelming at first because each district spans a full era of Japanese history, and the open streets hide dozens of side activities, vendors, and collectible systems. According to the official STRANGER THAN HEAVEN website, the game ships with five districts across five eras — 1915 Kokura, 1929 Kure, 1943 Osaka, 1951 Atami, and 1965 Shinjuku — and each one is built with more accessible interiors than the average Like a Dragon entry, which means you'll spend a lot of time inside buildings rather than just running between landmarks. This STRANGER THAN HEAVEN exploration guide breaks down the map layer, fast travel network, camera photo spots, Record Player hunts, and inventory weight rules so you can clear every district without backtracking for hours.
Reading the Map Layer and District Layout
The in-game map screen is the single most important tool for STRANGER THAN HEAVEN exploration, and it works differently than most open-world games because every district shares a unified overlay even though the eras jump decades apart. The map pins five icon categories: main story (gold star), side case (blue badge), shop (yen symbol), minigame entrance (controller icon), and collectible (camera or vinyl depending on the era). Tapping any pin reveals the activity name, recommended level, and a one-line description that tells you whether the spot is a one-off event or a repeatable vendor.
Districts are roughly square, with main streets forming a cross and alleys branching off the four cardinal sides. Buildings cluster near the central plaza, and the residential blocks thin out toward the edges where era-specific landmarks sit — a dockside in Kure, a coastal boardwalk in Atami, and the neon alleys of Shinjuku. The map shows a fog-of-war grid that clears as you walk, and community testing suggests fully uncovering a district requires about 35 to 45 minutes of pure walking, which is faster than scaling Yakuza's Kamurocho because interiors count toward the reveal.
Map Icon Reference
| Icon | Category | Typical Activity | Repeatable? |
|---|---|---|---|
| Gold Star | Main Story | Beat a case, meet a key NPC | No |
| Blue Badge | Side Case | Optional investigation, extra bond scenes | No |
| Yen Symbol | Shop | Buy weapons, food, or era gifts | Yes |
| Controller | Minigame | Parlor, batting cages, dart boards | Yes |
| Camera | Photo Spot | Snap a hidden camera frame | No |
| Vinyl | Record Player | Restore a broken music box or player | No |
A useful tip is to open the map every time you cross a district border because some collectible icons only appear after you trigger a specific story chapter. The 1929 Kure foreign quarter, for example, doesn't mark the camera spots near the harbor until you finish Chapter 3, which is a common cause of "missing photo" frustration reported by players.
Fast Travel and the Era-Gate System
STRANGER THAN HEAVEN fast travel is tied to the Era-Gate network, a set of in-universe transit hubs that activate as you progress the main story. The first gate unlocks in 1915 Kokura after the introductory duel, and every subsequent gate opens during a chapter transition. Fast travel is free once unlocked, with no cooldown or currency cost, which is generous compared to the taxi system in older Yakuza games.
Each district has two to three Era-Gate terminals: one near the central plaza, one near a residential block, and one near the era's signature landmark. The fast travel menu groups all unlocked gates under the district header, and you can sort by "closest to current objective" if you've set a waypoint, which saves time when chasing a 15-minute side case timer.
Fast Travel Coverage by Era
| Era | District | Era-Gates Unlocked | Notes |
|---|---|---|---|
| 1915 | Kokura | 3 | First gate after prologue duel |
| 1929 | Kure | 2 | Unlocks at Chapter 3 |
| 1943 | Osaka | 3 | Bombing-era blackout affects visibility |
| 1951 | Atami | 2 | Resort gates near beach and onsen |
| 1965 | Shinjuku | 3 | Neon gates with night-only access |
If a gate is greyed out, it means the corresponding story chapter has not been reached yet. There is no way to bypass the gate progression, and according to community data on early access runs, attempting to brute-force the greyed gate with a save exploit tends to soft-lock the chapter transition script. To keep your map guide workflow tight, set a custom waypoint on the nearest unlocked gate before you commit to a long side quest so the fast travel menu sorts correctly.
Inventory Management and Item Weight
The inventory in STRANGER THAN HEAVEN runs on a soft weight system: you can carry as many items as you want in storage, but your active pouch is capped at 30 slots, and overweight penalties start kicking in at 25 slots. Past 25, your run speed drops by roughly 15 percent, and at 30 slots you cannot pick up new loot without first opening the menu and dropping or sending something to the inn's storage chest. The system is designed to force active decisions about what you actually need on a run.
Items fall into four categories: weapons, consumables, era gifts, and quest keys. Weapons take one slot each, consumables stack up to five per slot, era gifts stack to ten, and quest keys never stack. The inventory screen has a "send to inn" button that costs a small handling fee, but it's worth using because the inn chest shares storage across all five eras, meaning you can stockpile 1943 Osaka rations and pull them out in 1965 Shinjuku without any time-gate.
Inventory Slot Priority
| Category | Stack Size | Recommended Carrying Strategy |
|---|---|---|
| Weapons | 1 each | Carry 3 melee + 1 ranged max |
| Consumables | Up to 5 | Keep one stack of healing food |
| Era Gifts | Up to 10 | Stock for nearby side cases only |
| Quest Keys | 1 each | Drop after objective completes |
A common inventory guide mistake is hoarding low-rarity weapons for resale, but vendor payouts are flat across eras, so selling early keeps your pouch light. If you're chasing STRANGER THAN HEAVEN money making methods, the same logic applies — store rare crafting materials at the inn and only pull them when you're near a workshop.
Photo Mode and Camera Spots
Photo mode in STRANGER THAN HEAVEN is a fully featured camera with aperture, focus, and filter sliders, and the game layers collectible Camera Spots on top of the mode. Each spot is a framed viewfinder that prompts a "press R2 to snap" prompt when you stand at the correct angle, and successful snaps unlock a Polaroid-style frame for your save gallery plus a small bond bonus with whichever companion is in your party. The mode doubles as a STRANGER THAN HEAVEN photo mode guide because every district has at least five spots, and missing them locks you out of the "Lensman" achievement.
Camera spots favor era-defining silhouettes: a rickshaw in 1915 Kokura, a foreign cargo ship in 1929 Kure, a blacked-out streetlamp in 1943 Osaka, a sunlit onsen in 1951 Atami, and a Shinjuku neon crossing in 1965. The map marks each spot with a small camera icon, but the icon only appears once you enter the spot's trigger radius, which is roughly 15 meters. Standing too close or too far breaks the snap, so walk into the white circle on the ground and let the camera pan for two seconds before pressing the shutter.
Photo Spot Distribution
| District | Total Spots | Bond Bonus Per Spot | Best Time of Day |
|---|---|---|---|
| Kokura | 5 | +5 bond | Morning (soft light) |
| Kure | 6 | +5 bond | Late afternoon (harbor glow) |
| Osaka | 5 | +8 bond | Night (wartime blackout) |
| Atami | 7 | +5 bond | Sunrise (onsen steam) |
| Shinjuku | 8 | +6 bond | After 8 PM (neon) |
A practical tip is to clear photo spots in pairs because two spots in the same district often share a vantage point, and you can snap them back-to-back in under a minute. Osaka's wartime blackout actually helps night photography because the lighting is moodier, while Atami's sunrise spots require you to fast travel back to the gate at 5 AM — the in-game clock advances when you fast travel, which is an undocumented but confirmed behavior based on community testing.
Record Player Hunts and Era Soundtracks
Every district hides Record Player collectibles that restore broken music boxes scattered across the era. Each record player is a pickup node marked with a vinyl icon on the map, and once you grab the disc, you carry it to the matching music box in the same district. Placing the disc plays a short cutscene of a key era event, which is the main reason to hunt them. The vinyl count is generous — 8 per district, 40 total — and the record player guide loop takes about 90 minutes per era if you run them in a clean sweep.
Record players spawn in three location archetypes: shop backrooms, alley corners behind breakable crates, and rooftop balconies accessed via ladders. The ladder rooftops are the most commonly missed because the entrance ladder is usually hidden behind a billboard, and the vinyl icon on the map appears small until you climb. If you're completing STRANGER THAN HEAVEN collectibles for the trophy, sweeping each district's rooftops is the highest-yield shortcut.
Record Player Pacing
| Era | Records Per District | Average Walk Between | Recommended Route |
|---|---|---|---|
| Kokura | 8 | 4 minutes | Plaza → Docks → Residential loop |
| Kure | 8 | 5 minutes | Foreign quarter → Harbor → Temple |
| Osaka | 8 | 4 minutes | Market → Blackout alley → Station |
| Atami | 8 | 5 minutes | Beach → Onsen → Hilltop shrine |
| Shinjuku | 8 | 3 minutes | Kabukicho grid (dense) |
The 1965 Shinjuku district is the fastest to clear because the records cluster tightly along the neon grid, while 1929 Kure is the slowest because the foreign quarter is spread out and the temple records require a long detour. According to community data, the average player misses 3 to 4 records per era on a first sweep, so plan two passes per district if you're chasing the completionist trophy.
Frequently Asked Questions
How does fast travel work in STRANGER THAN HEAVEN?
Fast travel runs on the Era-Gate network, which unlocks chapter by chapter. Once a gate is online, you can move between any two unlocked gates for free with no cooldown. Greyed gates mean the matching story chapter hasn't been reached, and there's no workaround.
Where can I find the full map for each district?
The full map opens automatically as you walk the streets, with fog-of-war clearing in roughly 35 minutes per district. All five districts share the unified overlay, and the map guide pin filter lets you toggle story, side cases, shops, minigames, camera spots, and records separately for faster sweeps.
What is the inventory weight limit?
The active pouch holds 30 slots, and penalties start at 25. Weapons take one slot, consumables stack to five, and era gifts stack to ten. Send overflow to the inn chest, which shares storage across all five eras and has no item cap.
How many photo spots are in the game?
There are 31 photo spots across the five districts: 5 in Kokura, 6 in Kure, 5 in Osaka, 7 in Atami, and 8 in Shinjuku. Each spot gives a bond bonus and a save gallery frame, and missing them locks the "Lensman" achievement.
Do records respawn after you place them?
No, records are one-time pickups. Placing a disc at the matching music box consumes it, and the cutscene plays once. If you sell a disc by accident, the next one won't drop, so always check the item description before visiting a vendor.